Export from Maya

Step 1: Apply materials

Add Maya material to differentiate different parts.

Meshroom VR uses the different materials applied by Maya to your model to identify the different parts.  On each part, you will be able to drag’n’drop a Weviz material.

Be sure that each part of your 3D project is associated to a material.

To apply your material:

Go to the panel layout (on right side).

Select the required material, use the middle mouse button and hold it down, then drop the material on the surface chosen.

*It is those colors and textures that Meshroom VR will use to identify the different parts of your model.

Step 2: NORMALS

Check your surfaces orientations!

Meshroom has “Normal correction tool” (see below) for a quick design validation but performance.

In Maya, each surface emits in one signle direction (This direction is called normal).

To show your model normals:

Click on the tab shading.

Be sure having click on Smooth Shade all and Backface culling.

Then go to Normals and click on Reverse to correct (if necessary).

Step 3: FORMAT .FBX

Export only what you need! And do not triangulate too much!

Remove all useless objects from your export. If you want to validate the exterior shape of a design, it would be useless to import all the machinery hidden inside!

Unlike in rapid prototyping, low tesselation* provides the best results in VR.

To export your 3D project:

Go to > File > Export All.

In export All options, select .FBX export and click on export All.

In the window « export all », be sure having to click on smoothings group, smooth mesh, triangulate.

In the tab « embed media », check embed media.

Name your file and click Export All.

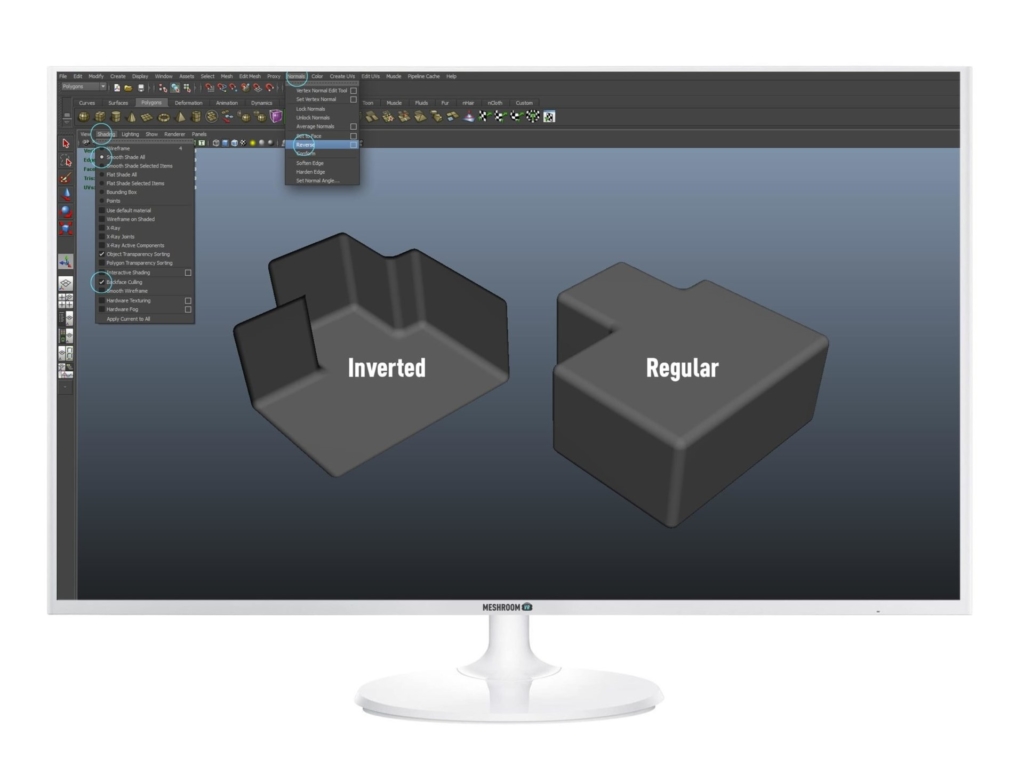
*By exporting your model, you will convert it to triangle mesh. The quantity of triangle generated is called tesselation.

Start typing and press Enter to search

Shopping Cart

No products in the cart.